
Creating a test file
Click New in the workspace and choose Test. Name the file after the graph it covers with a.test suffix - loan-approval.test for the loan-approval graph - and it’s picked up automatically by Quality Control and the graph’s Tests panel.
Each case in the test editor has three panes:
Give cases descriptive names - “declined - low credit score”, “review - high debt-to-income” - so a failure tells you what broke without opening the case.
Running tests from the graph
The Tests tab in the graph editor shows every case that targets the open graph, with a live status hero: “All cases passing”, or the number of failing cases.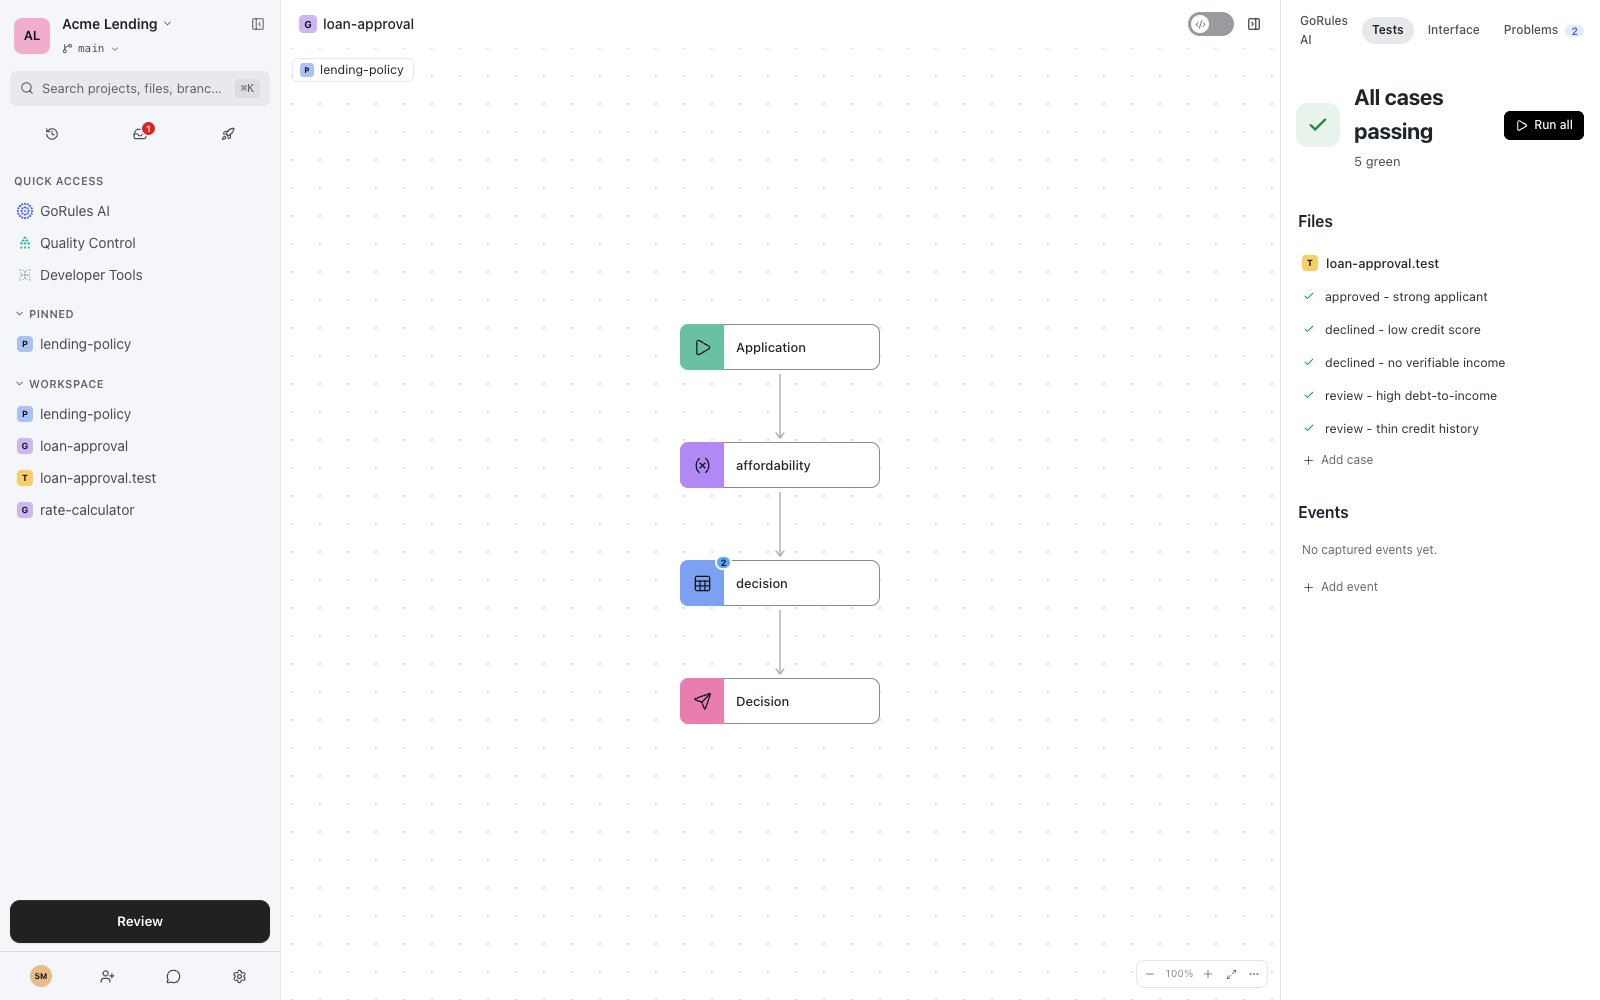
The Tests panel after a run
- Run all cases, run a single file, or run one case.
- Add case to append a new case to the file.
- Disable a case to skip it temporarily, or make it private so it only runs for you.
- Simulate the graph ad hoc, then promote a good run to a saved event - a captured real input that becomes a permanent regression check.
Events
Events are captured evaluations: instead of hand-writing input JSON, you save an actual simulation (or a real traced request) as a test. They appear in the Events section of the Tests panel and run with the rest of the suite.Tests as a quality gate
Test results feed two places beyond the editor:- Quality Control aggregates every test file in the workspace, tracks which graphs have no coverage at all, and exports a PDF report.
- Pre-flight checks on the Review page run your tests before you save, so failing cases are visible at the moment you commit.