
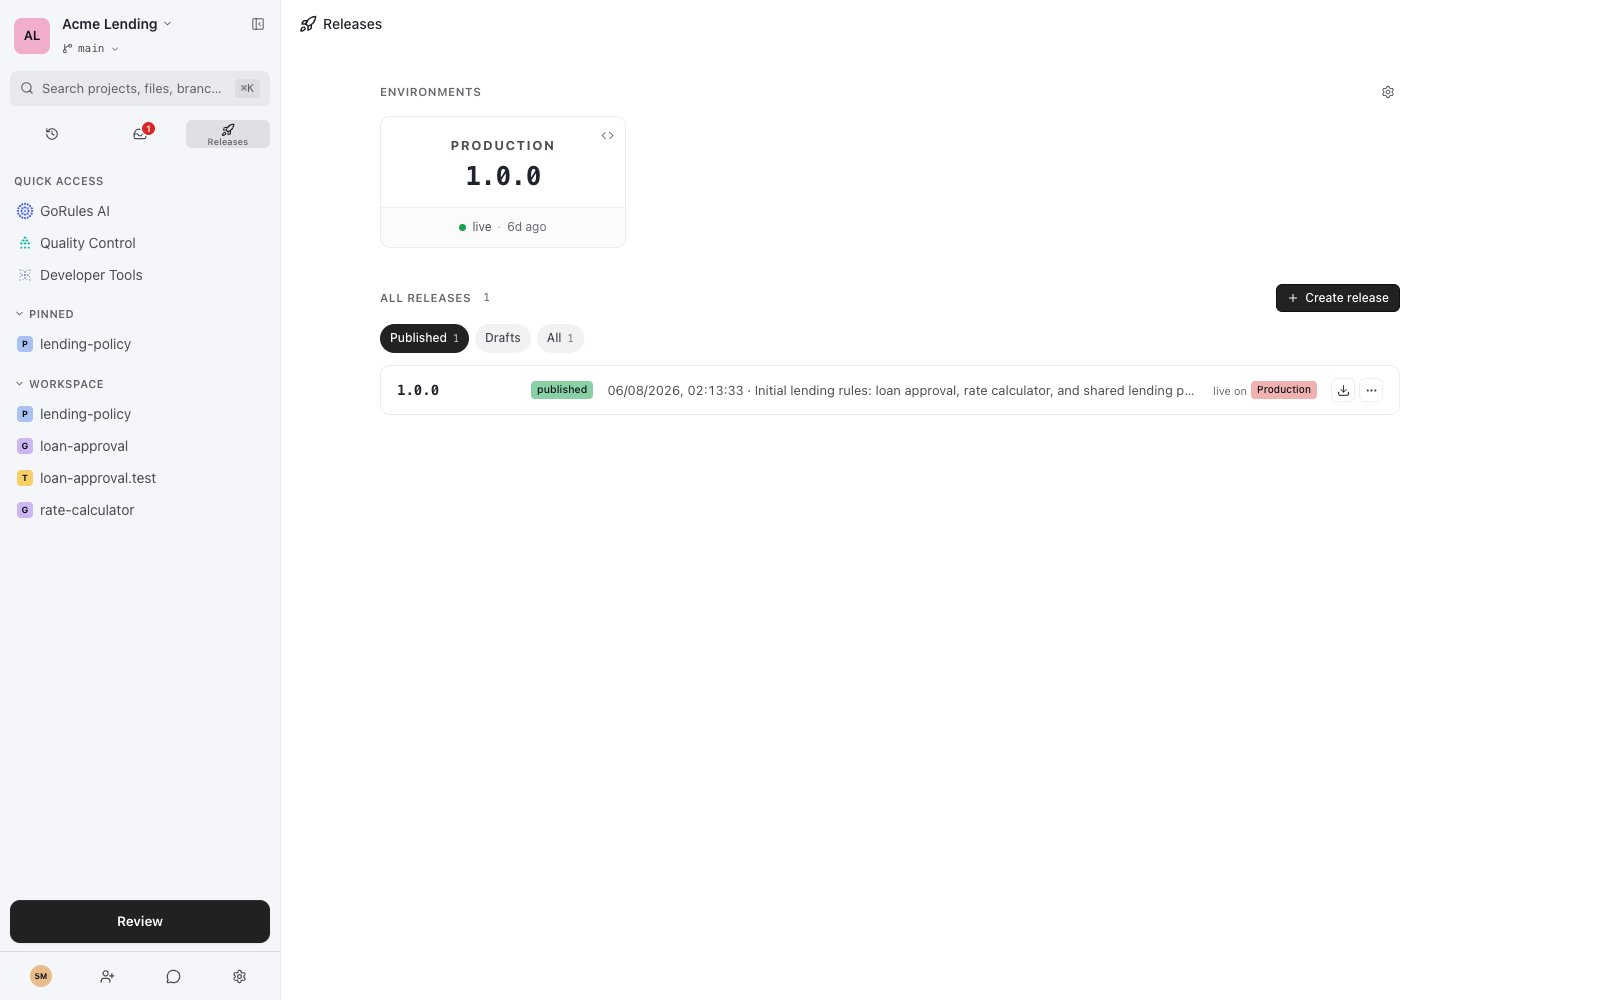
The Releases page: environments at the top, the release list below.
The Releases page
Open Releases from the sidebar. The page has two sections:- Your environments at the top - the deploy targets for this project and which release each one is serving. If you see “No environments configured yet. Add one from project settings to start deploying.”, set one up first. See Environments.
- All releases below, filtered by Published, Drafts, or All.
Create a release
- Click Create release.
- Pick the branch to snapshot.
- Enter a name and, optionally, a description of what’s in the release.
- Choose how the version should change: Patch, Minor, or Major. You can also keep the release as a draft and publish it later.
- Review the Pre-flight block, then click Create release.
Choosing a version increment
Published releases follow semantic versioning (MAJOR.MINOR.PATCH):Drafts and publishing
A draft is a release without a version number. Use drafts to package work in progress, share a snapshot with reviewers, or stage something you plan to publish later. Drafts appear under the Drafts filter and carry a draft badge. To publish a draft, open Publish… from its row menu, pick the version increment, and confirm. The release gets the next semantic version and moves to the Published filter.Deploy a release
Click a release to open the deploy view. Pick an environment to push this release to - the pre-flight checks at the top confirm tests and configuration are good to go. Each environment card shows its current state: the version that’s live, “Idle - no release deployed yet.” if nothing is deployed, or “This release is already live here.” when the environment is already serving this release. Select an environment and click Deploy. Environments marked with a “requires review” chip don’t deploy directly. For those, the button reads Open review to deploy: clicking it opens a deploy request, and the release goes live once the request is approved. See Requests.Deploying never changes the release itself. The same snapshot can be live on staging and production at once, and you can re-deploy any earlier release to roll back.